Back up CockroachDB to S3 via HTTPS proxy


When running your production workloads on CockroachDB, you'll want to take regular backups. CockroachDB is frequently deployed into a cloud, such as EC2, GCP, or Azure, and these cloud environments consistently offer a highly durable "blob store". That, coupled with how well CockroachDB's backup/restore works with these blob stores, makes them an excellent choice of backup target. In certain cases, organizations may choose to limit outbound traffic from their workloads running in the cloud, so they may deploy a proxy to manage these HTTP and/or HTTPS requests. Having just configured this myself, I figure sharing it here would make sense.
In my case, I'm running a three node cluster right on my MacBook Pro, so I'm cheating a little bit in that it's not running in the cloud. Still, for purposes of this experiment, I think it's okay. I should note that, in that startup procedure, the one shown on the link to the docs, you need to add this step prior to starting each of the three cockroach processes:
$ export HTTPS_PROXY=http://localhost:8888
$ export HTTP_PROXY=$HTTPS_PROXY
Now, what's this process running on port 8888 on my Mac? That is my proxy and, for this, I chose to try one called mitmproxy. With that installed, I started it up:
$ mitmproxy -p 8888
Once running, mitmproxy logs traffic to the terminal. I'll show what this looks like down below, once the backup completes and some log entries are present. After mitmproxy starts up, it creates a directory containing CA certificates:
$ ls -l ~/.mitmproxy
total 48
-rw-r--r--  1 mgoddard  staff  1318 Mar  1 15:53 mitmproxy-ca-cert.cer
-rw-r--r--  1 mgoddard  staff  1140 Mar  1 15:53 mitmproxy-ca-cert.p12
-rw-r--r--  1 mgoddard  staff  1318 Mar  1 15:53 mitmproxy-ca-cert.pem
-rw-------  1 mgoddard  staff  2529 Mar  1 15:53 mitmproxy-ca.p12
-rw-------  1 mgoddard  staff  3022 Mar  1 15:53 mitmproxy-ca.pem
-rw-r--r--  1 mgoddard  staff   770 Mar  1 15:53 mitmproxy-dhparam.pem
To establish trust between CockroachDB's S3 client and mitmproxy, you'll need to run the following SQL command while logged in to CockroachDB as an ADMIN user:
root@:26257/defaultdb> set cluster setting cloudstorage.http.custom_ca = '-----BEGIN CERTIFICATE-----
MIIDoTCCAomgAwIBAgIGDq9brWb1MA0GCSqGSIb3DQEBCwUAMCgxEjAQBgNVBAMM
CW1pdG1wcm94eTESMBAGA1UECgwJbWl0bXByb3h5MB4XDTIxMDIyNzIwNTMzNVoX
DTI0MDIyOTIwNTMzNVowKDESMBAGA1UEAwwJbWl0bXByb3h5MRIwEAYDVQQKDAlt
aXRtcHJveHkwggEiMA0GCSqGSIb3DQEBAQUAA4IBDwAwggEKAoIBAQCxNd/0kdh3
/BAxtk4sZQMnUkQgN6zTszT1D1FHcJjU4Q+5XZK99ot5996p2+79r+vtsEDm8yRw
n/fRWd7vuvj2pg4ks5YMhxyXvYp6T0zi+/Oww6ptf7Cj0xtYvTaoeAsK9R1uOSWm
a53F1Eq6J0O8iWdthBc2yJuv9y2K+WUPjn4aZUtpQf444cKMvqYj5CeUixj/Ubk2
mp0QOE4u5t+azh9urm/0oZQ8JKqKQxGsoH2NQ30r8DNK/PXWhQmEHQST0HTDkvmy
pGrKmGu/jeUAVkEoqk+WTwf0XySgSl5wI/cyFNxbEAYYF/7JJZkT9IywYPgHZWIJ
O7fsLWWTLTgVAgMBAAGjgdAwgc0wDwYDVR0TAQH/BAUwAwEB/zARBglghkgBhvhC
AQEEBAMCAgQweAYDVR0lBHEwbwYIKwYBBQUHAwEGCCsGAQUFBwMCBggrBgEFBQcD
BAYIKwYBBQUHAwgGCisGAQQBgjcCARUGCisGAQQBgjcCARYGCisGAQQBgjcKAwEG
CisGAQQBgjcKAwMGCisGAQQBgjcKAwQGCWCGSAGG+EIEATAOBgNVHQ8BAf8EBAMC
AQYwHQYDVR0OBBYEFF55Z+1n0C1UbvjlL0HZrxxcKrGrMA0GCSqGSIb3DQEBCwUA
A4IBAQAV1QY8uvFwNgxytEgnwnbX084+Hf++01ILk/GL+vBI2HRHBkCcISSSOP2Y
f+tTSM2CxxOYndf6BfmrP3Vzs5VdB6xlbpGR4QUqSRhQXe7aTwVmNoP9bV/de+Tl
mdMa3kB3La/5BMKpgtsn/7xt4fsVvExXS/igEuwBbPmozCxisDu568Dag5GV3iTC
cx8iLcZ1Eg0kbnLO7zmwgxADGBqDNphS5raYTiJaZODDA2MRUfSacUDB90ipnqz1
IzGXMqvf3Wdgqy3vHQoXRFUrHSRALbE0mBZYCM8/nNZ0tqt7lQy8La/p0XSWFRCR
sDyr2ls+PCDeuJo5p7ti2pBs8sU4
-----END CERTIFICATE-----';
That string is the certificate contained in the file ~/.mitmproxy/mitmproxy-ca-cert.pem.
Prior to running the backup, a couple of things need to be done within Amazon EC2:
- Create an S3 bucket to contain the backups (mine is in the
us-east-1region).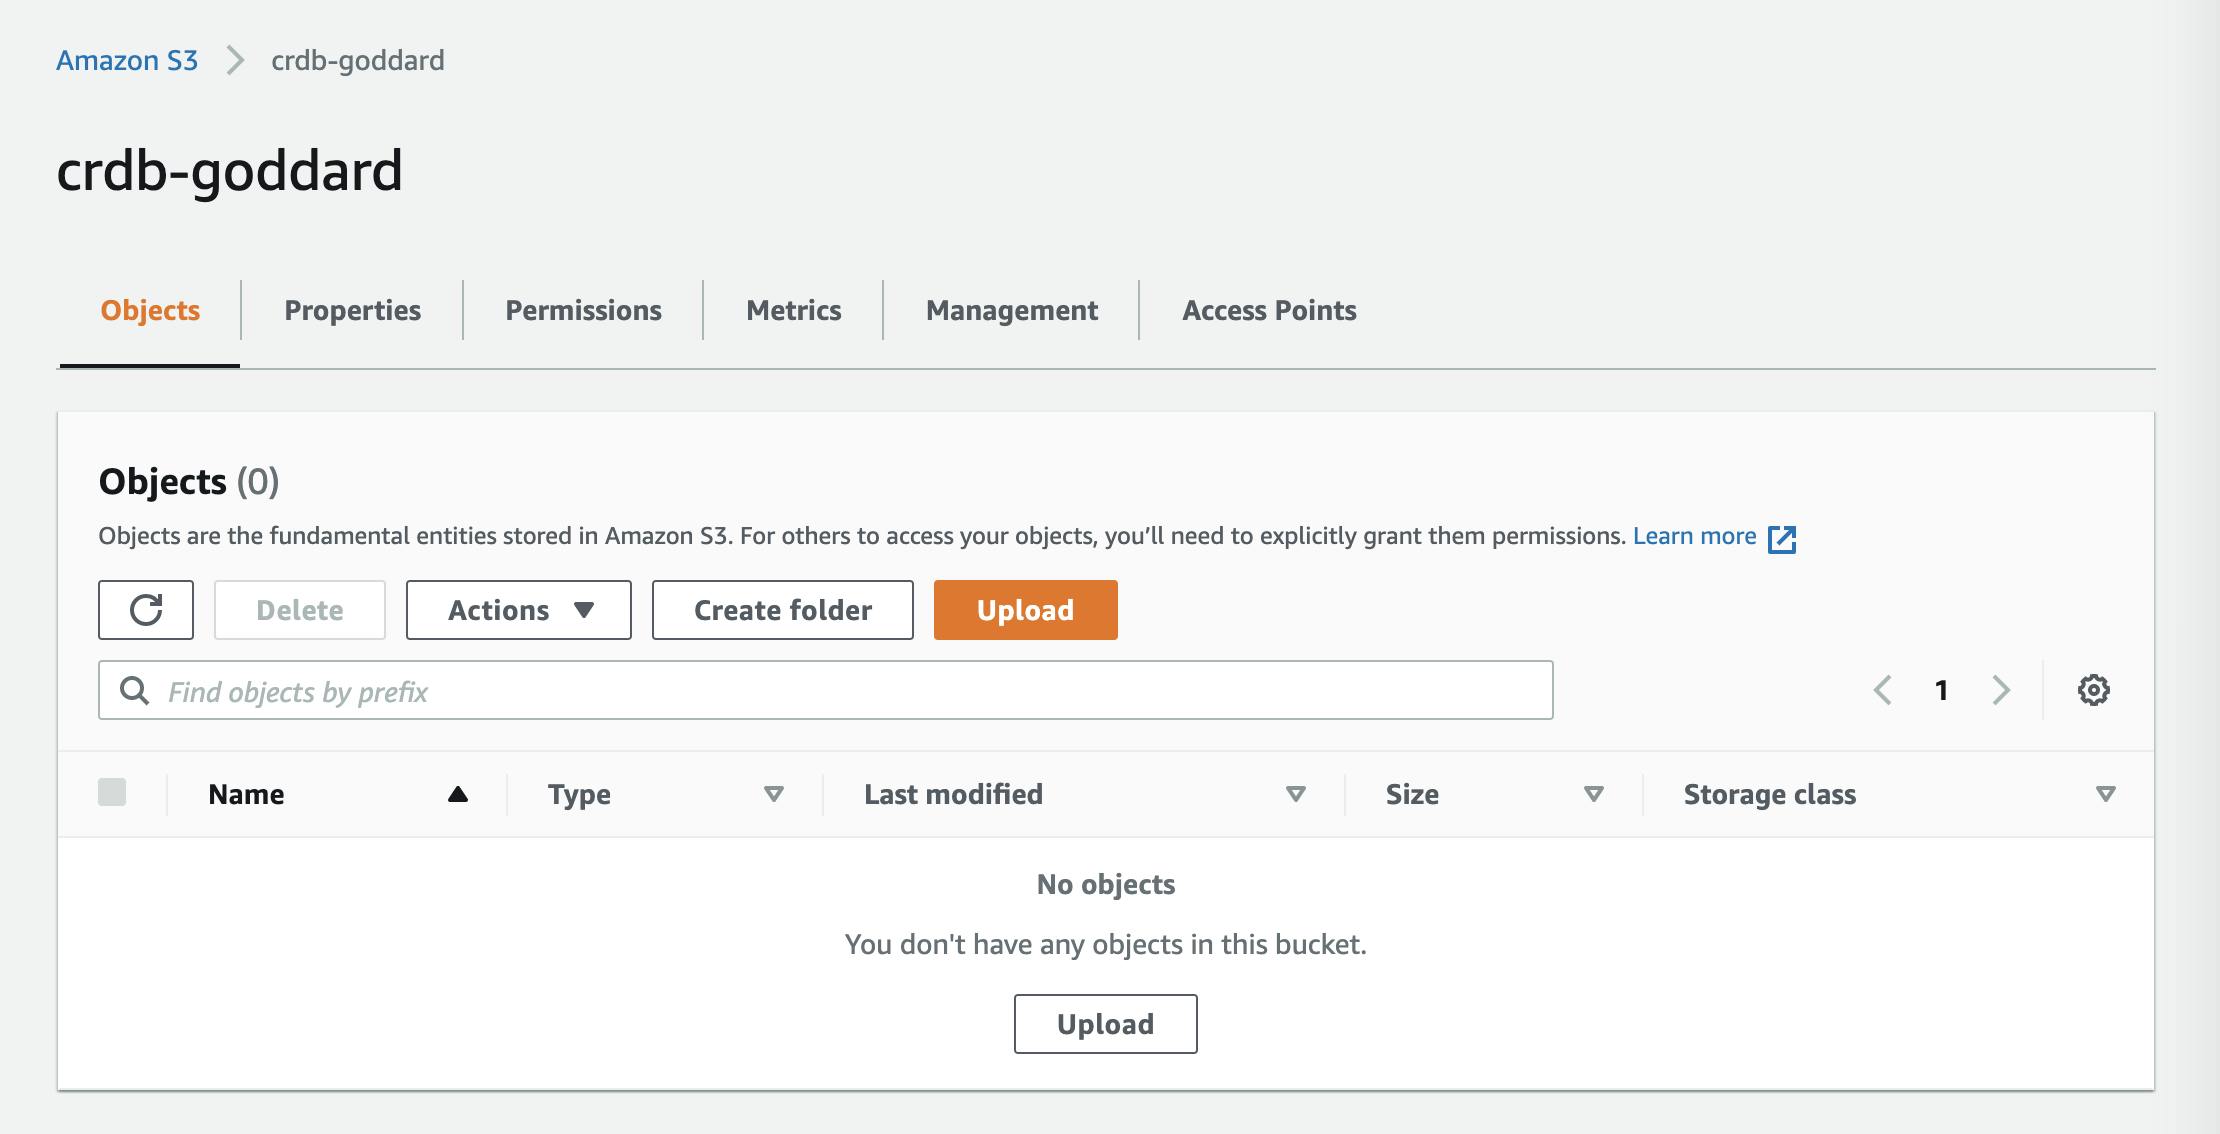
- Use the IAM interface to download security credentials.
I've already got a table, t1, that has data in it, so I won't show that. The next part is to build up the SQL backup command:
BACKUP TABLE t1
TO 's3://crdb-goddard/t1?AWS_ACCESS_KEY_ID=AKIAX4BORNLV64R5CHGM&AWS_SECRET_ACCESS_KEY=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&AWS_ENDPOINT=https%3A%2F%2Fs3.us-east-1.amazonaws.com&AWS_REGION=us-east-1'
AS OF SYSTEM TIME '-30s';
Going over this one part at a time:
BACKUP TABLE t1: just the usual syntax to back up a specified table. You can also do a specific database, or the entire cluster.
TO 's3://crdb-goddard/t1: the backup files will be created within the t1 folder of the crdb-goddard bucket created earlier.
?: this is the separator between the URL and the parameters, and the & character separates each of the provided parameters shown below.
AWS_ACCESS_KEY_ID=AKIAX4BORNLV64R5CHGM: this is the "Access key ID" obtained above using the IAM UI.
AWS_SECRET_ACCESS_KEY=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: this is the "Secret access key", also downloaded via the IAM UI.
AWS_ENDPOINT=https%3A%2F%2Fs3.us-east-1.amazonaws.com: when using a proxy and setting its cert as we have done here, it's necessary to explicitly set this parameter as well as the following one.
AWS_REGION=us-east-1: (see above)
AS OF SYSTEM TIME '-30s';: this specifies to take the backup as of the specified time, 30 seconds ago. This helps to reduce contention with ongoing transactions.
If all of this is correct, the backup should run and produce files within the S3 folder. Let's see ...
root@:26257/defaultdb> BACKUP TABLE t1
                    -> TO 's3://crdb-goddard/t1?AWS_ACCESS_KEY_ID=AKIAX4BORNLV64R5CHGM&AWS_SECRET_ACCESS_KEY=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&AWS_ENDPOINT=https%3A%2F%2Fs3.us-east-1.amazonaws.com&AWS_REGION=us-east-1'
                    -> AS OF SYSTEM TIME '-30s';
        job_id       |  status   | fraction_completed | rows | index_entries | bytes
---------------------+-----------+--------------------+------+---------------+--------
  637830896734896129 | succeeded |                  1 | 1000 |             0 | 10636
(1 row)

Time: 2.838s total (execution 2.838s / network 0.000s)
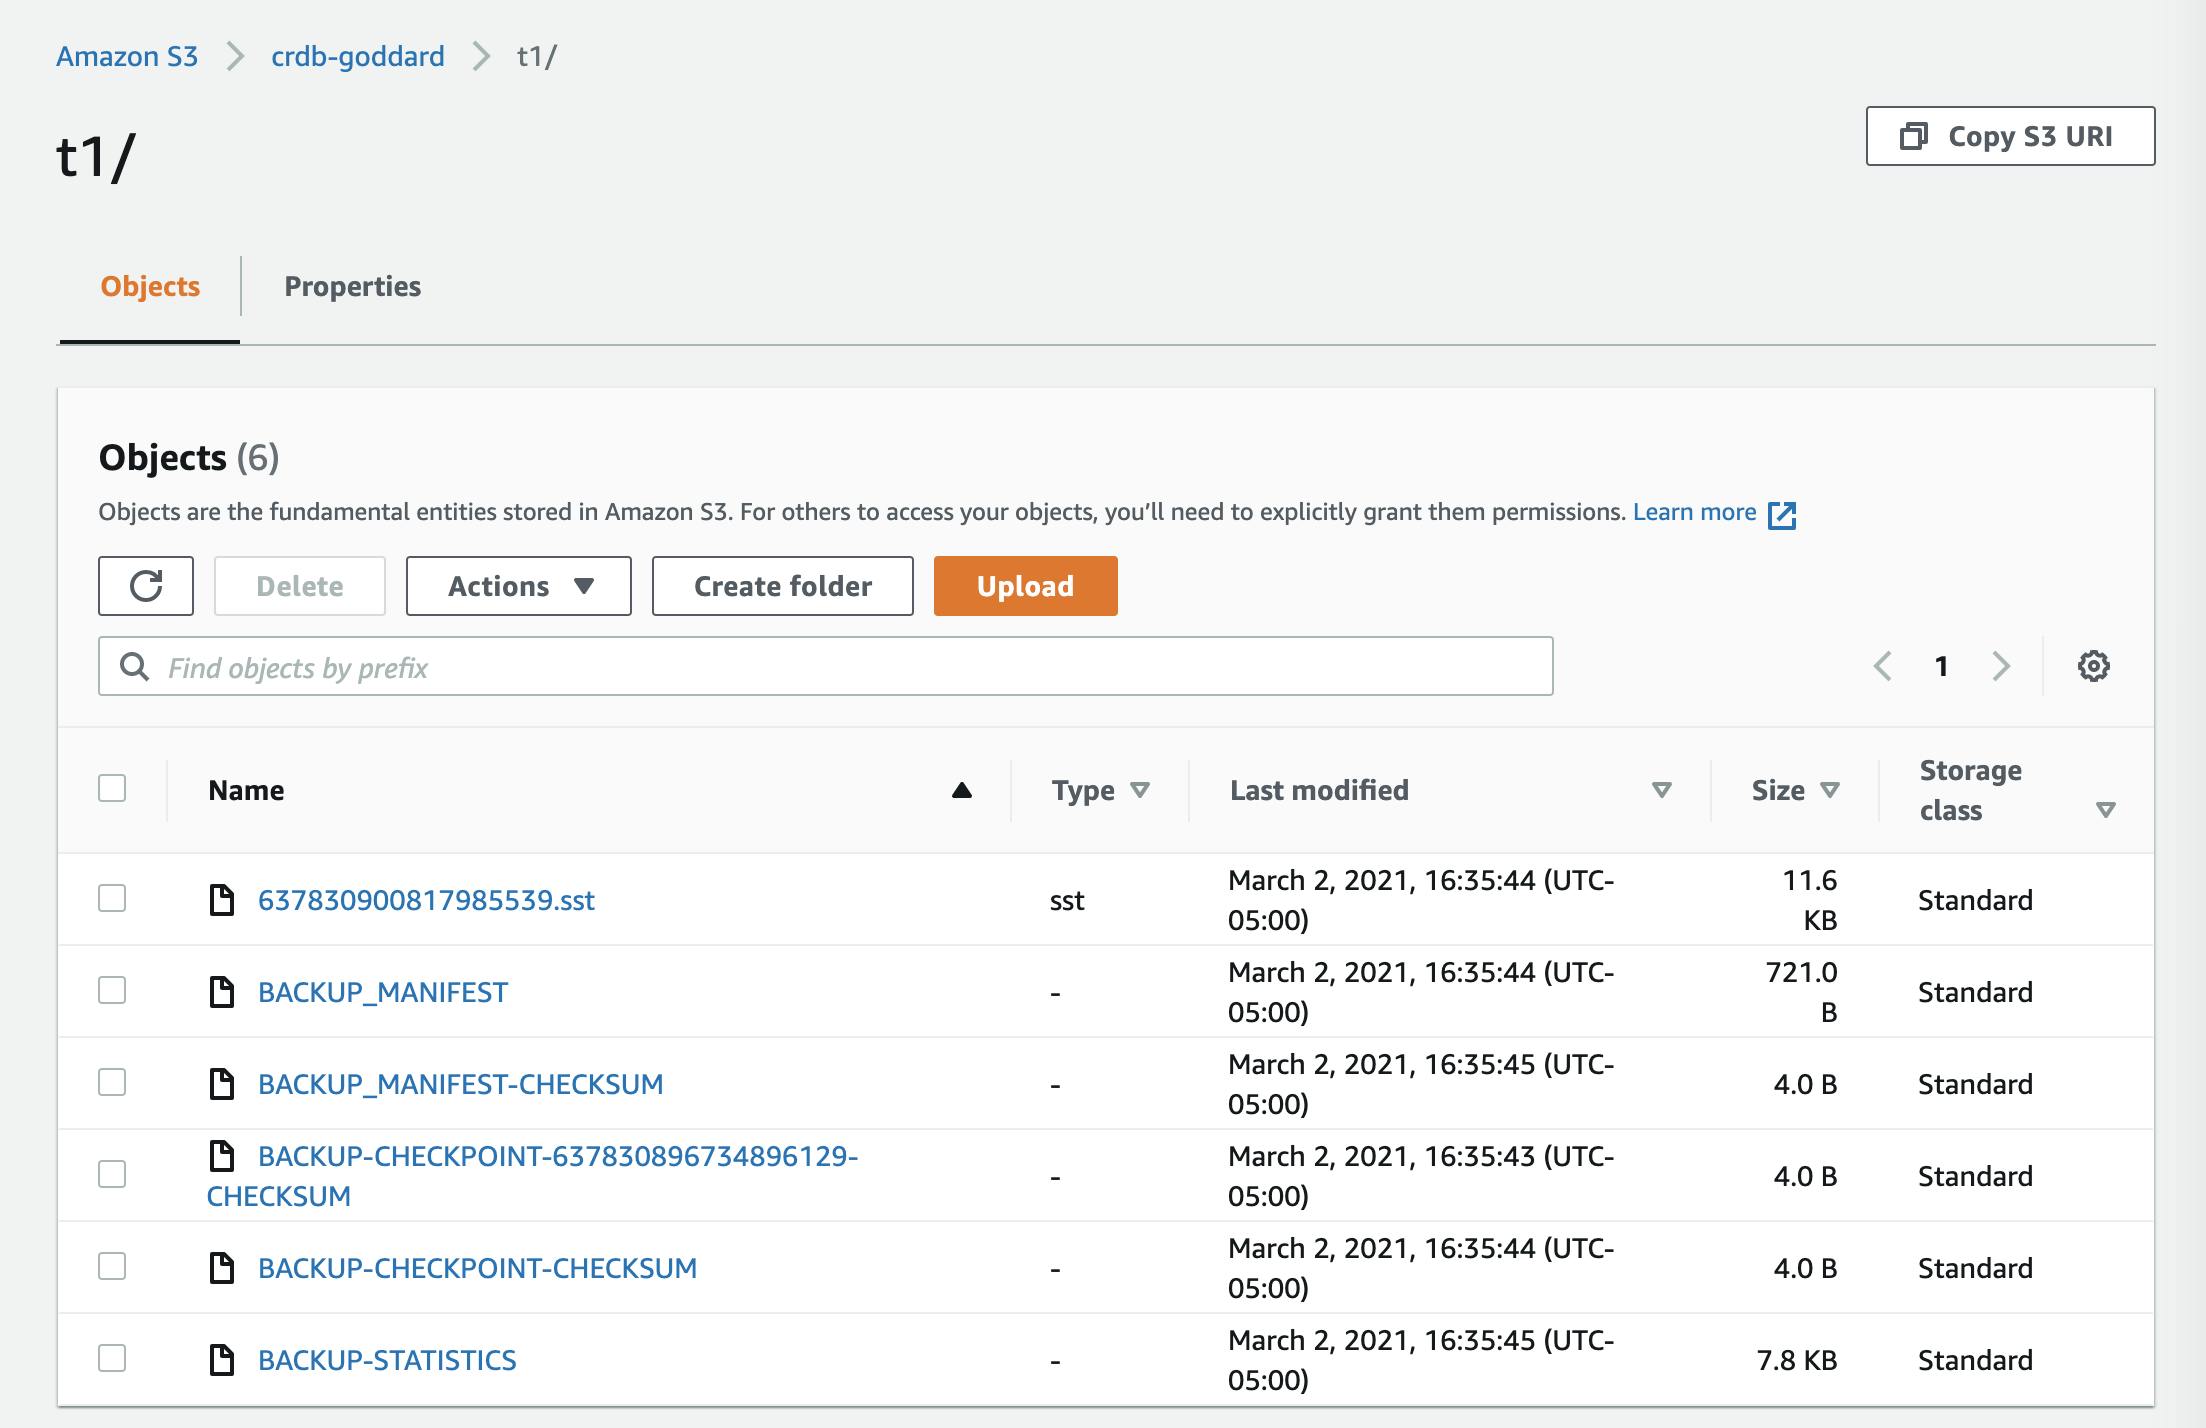
That appears to have succeeded. Here are the files that produced in S3:
Finally, here is what the mitmproxy logs show:
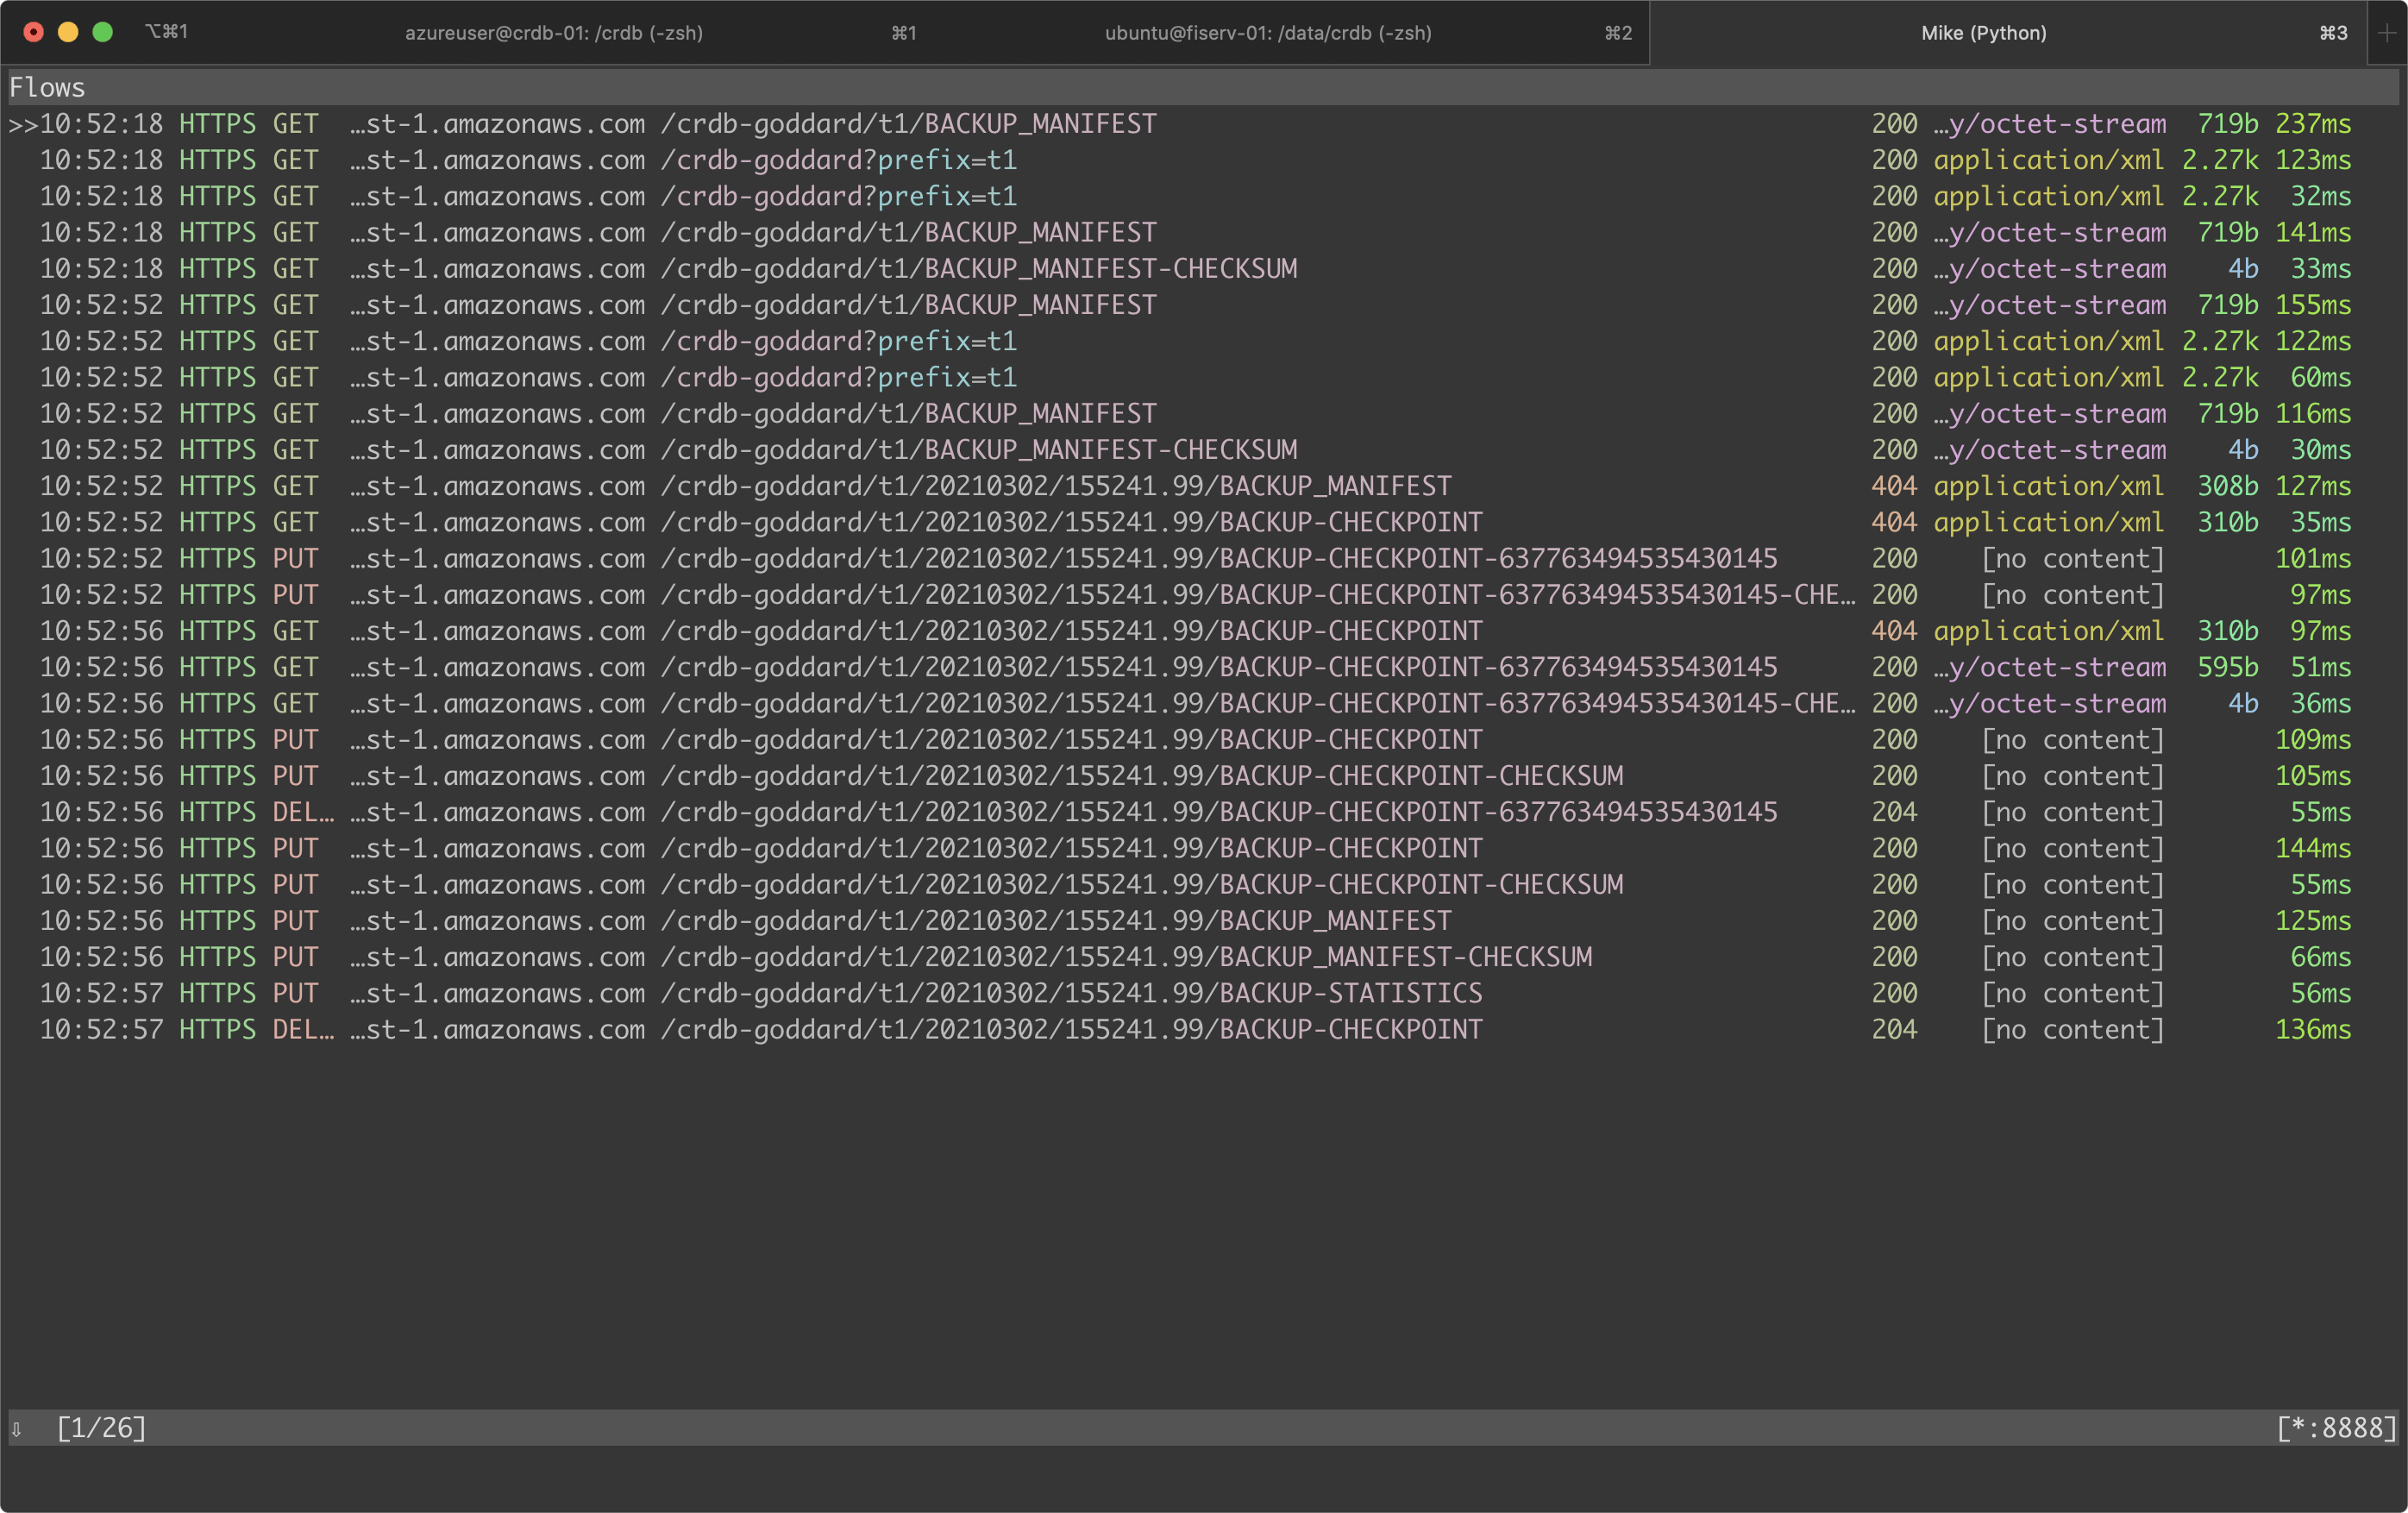
And that's what I wanted to show. Thank you for following along. I hope this is helpful!